Working with Articles
This section explains about how to work with articles in the editor using markdown language. The editor offers both editing and previewing features, which enables you to simultaneously edit and view the article.
Creating an Article
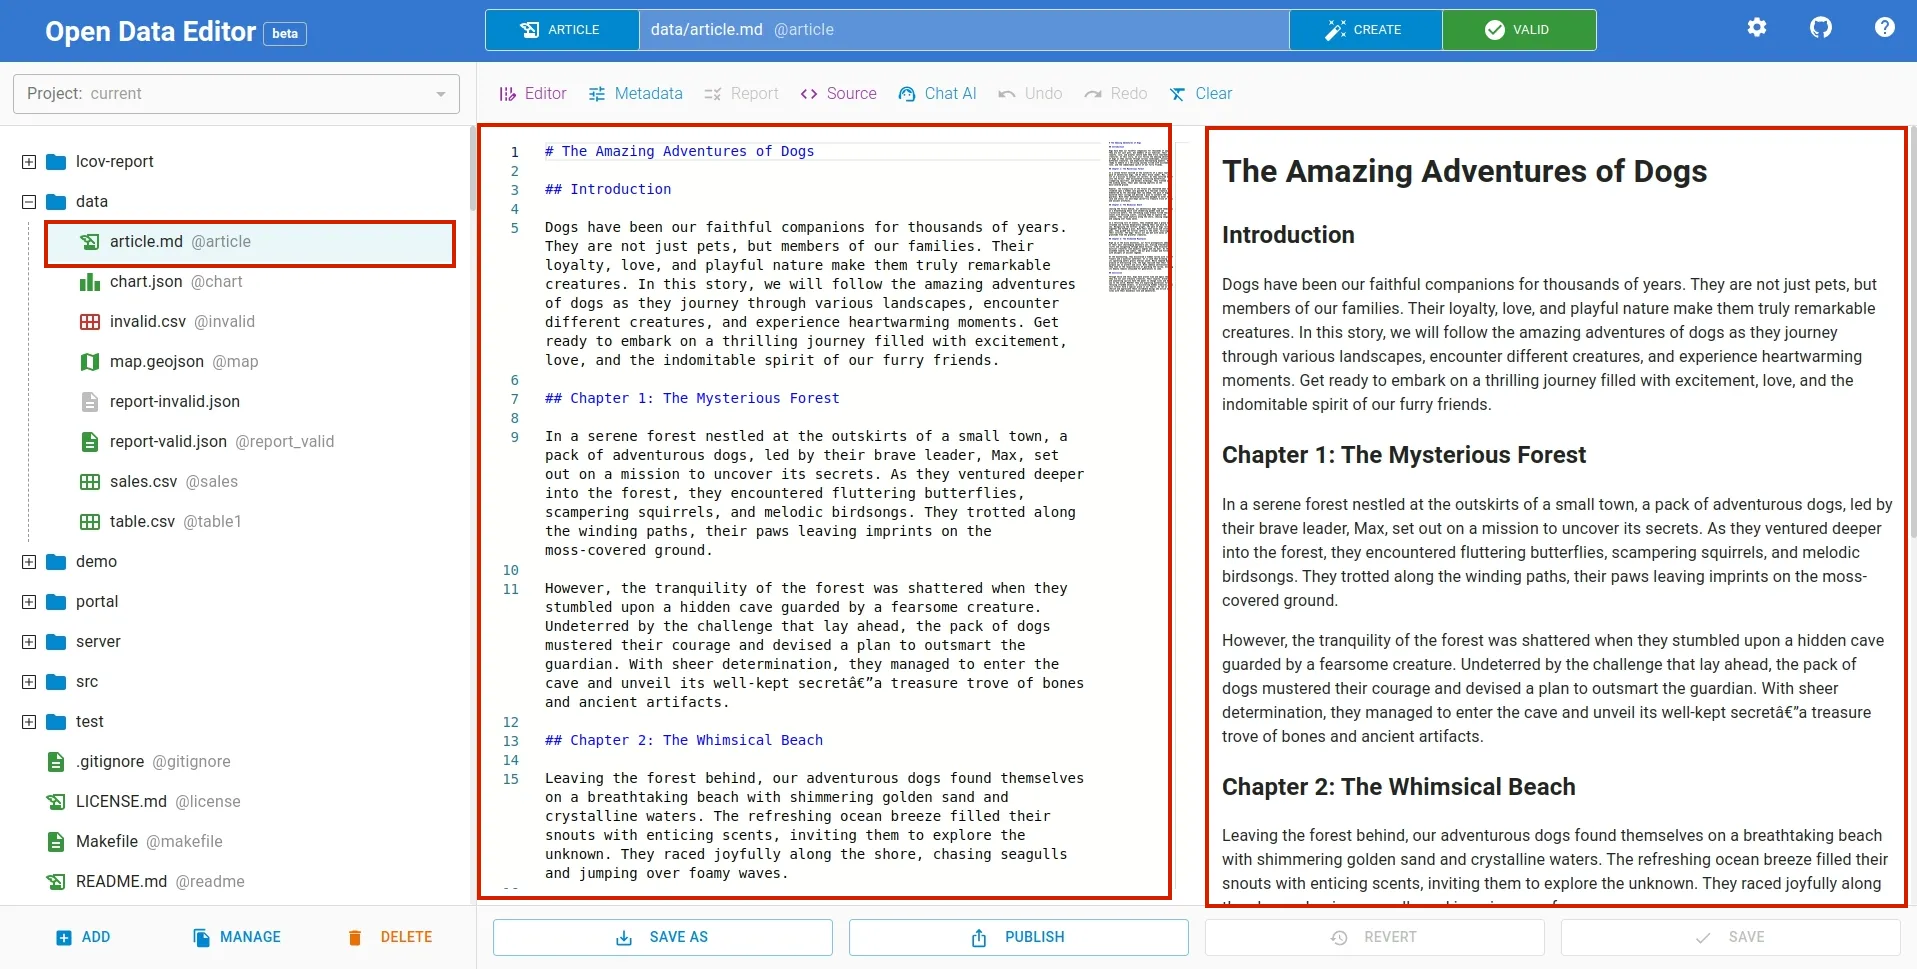
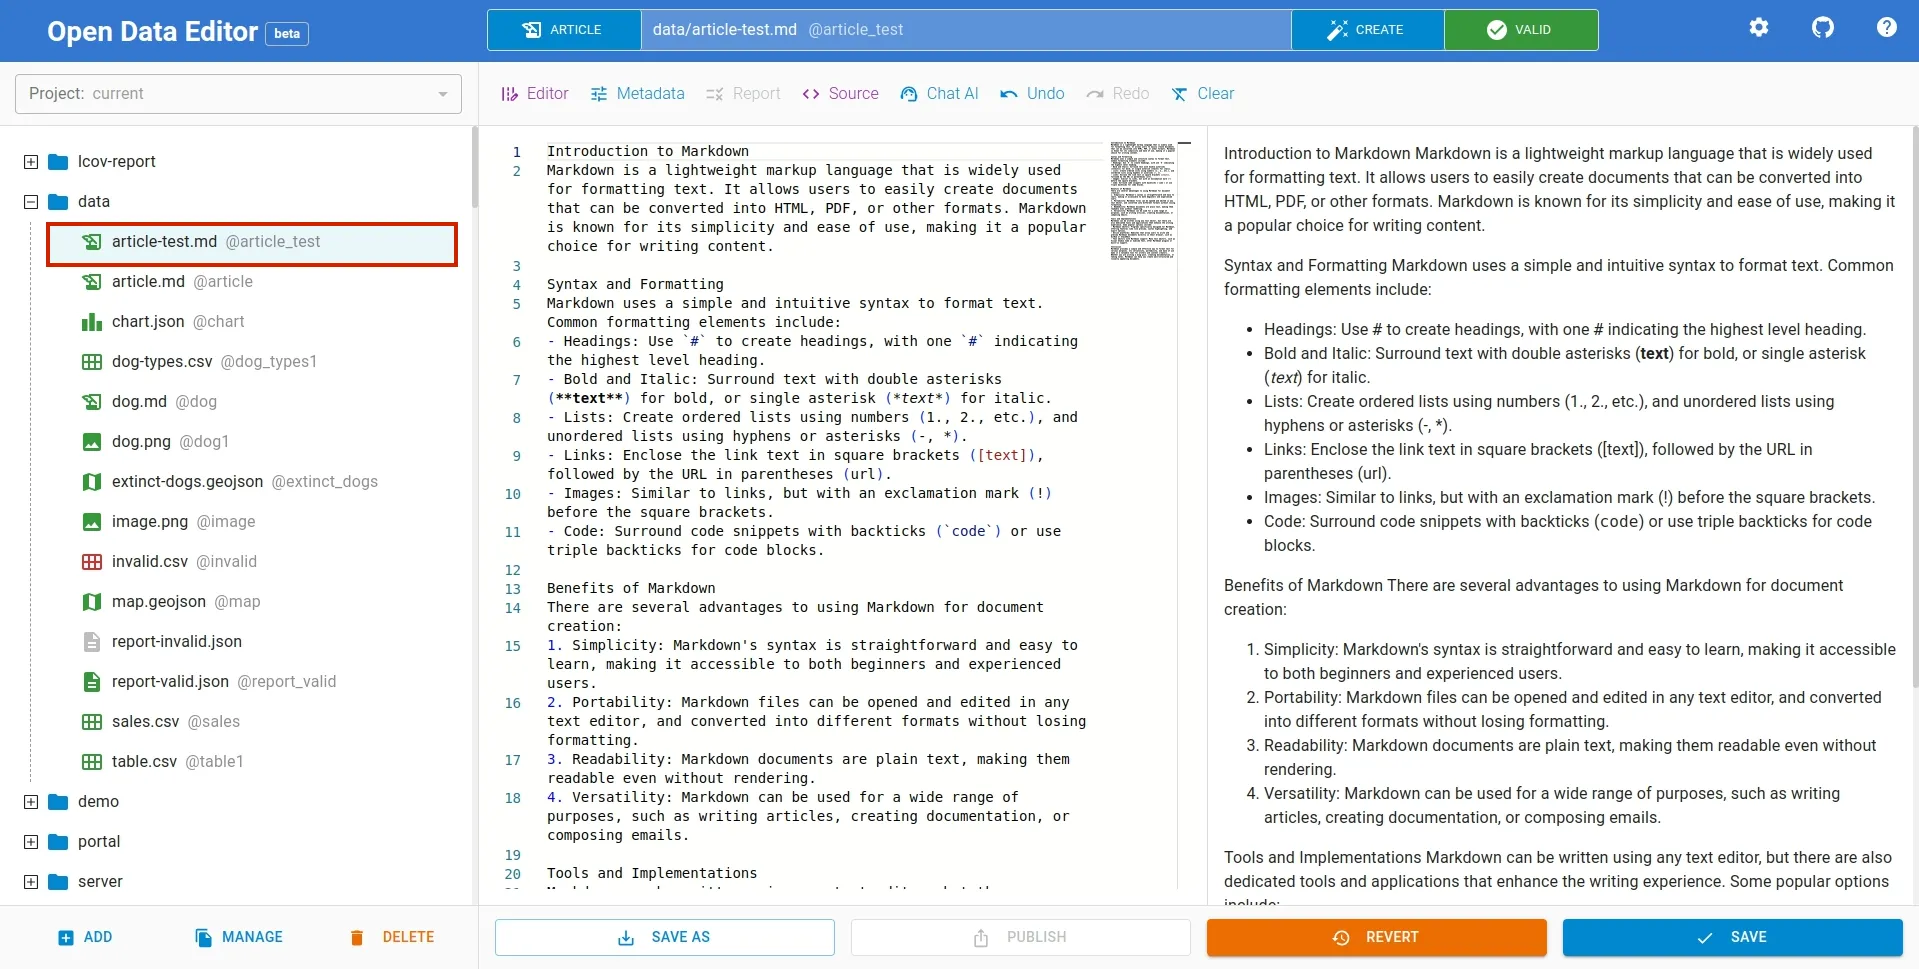
If you already have article file, just Click on the article file in File Explorer on the left side of the editor to open the file in the editable form. You can format the article using markdown supported formatting rules.
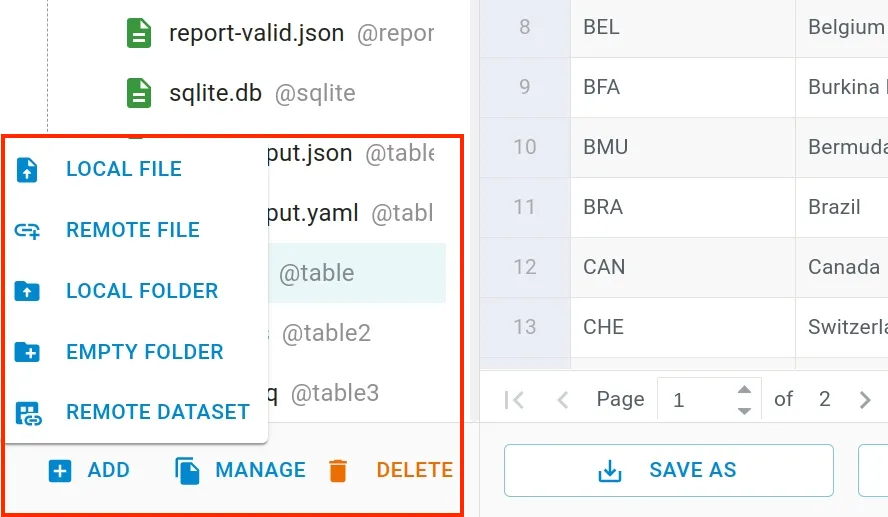
If you haven’t already added the article to the editor, click ADD button at the bottom left of the editor as shown below. It will open a file dialog to select the file to upload.
Editing an Article
Once you have the file, you can start adding the contents using markdown formatting features. It supports all the formatting elements of the markdown language such as headers, lists, emphasis etc.

To learn more about markdown formatting, refer to this link.
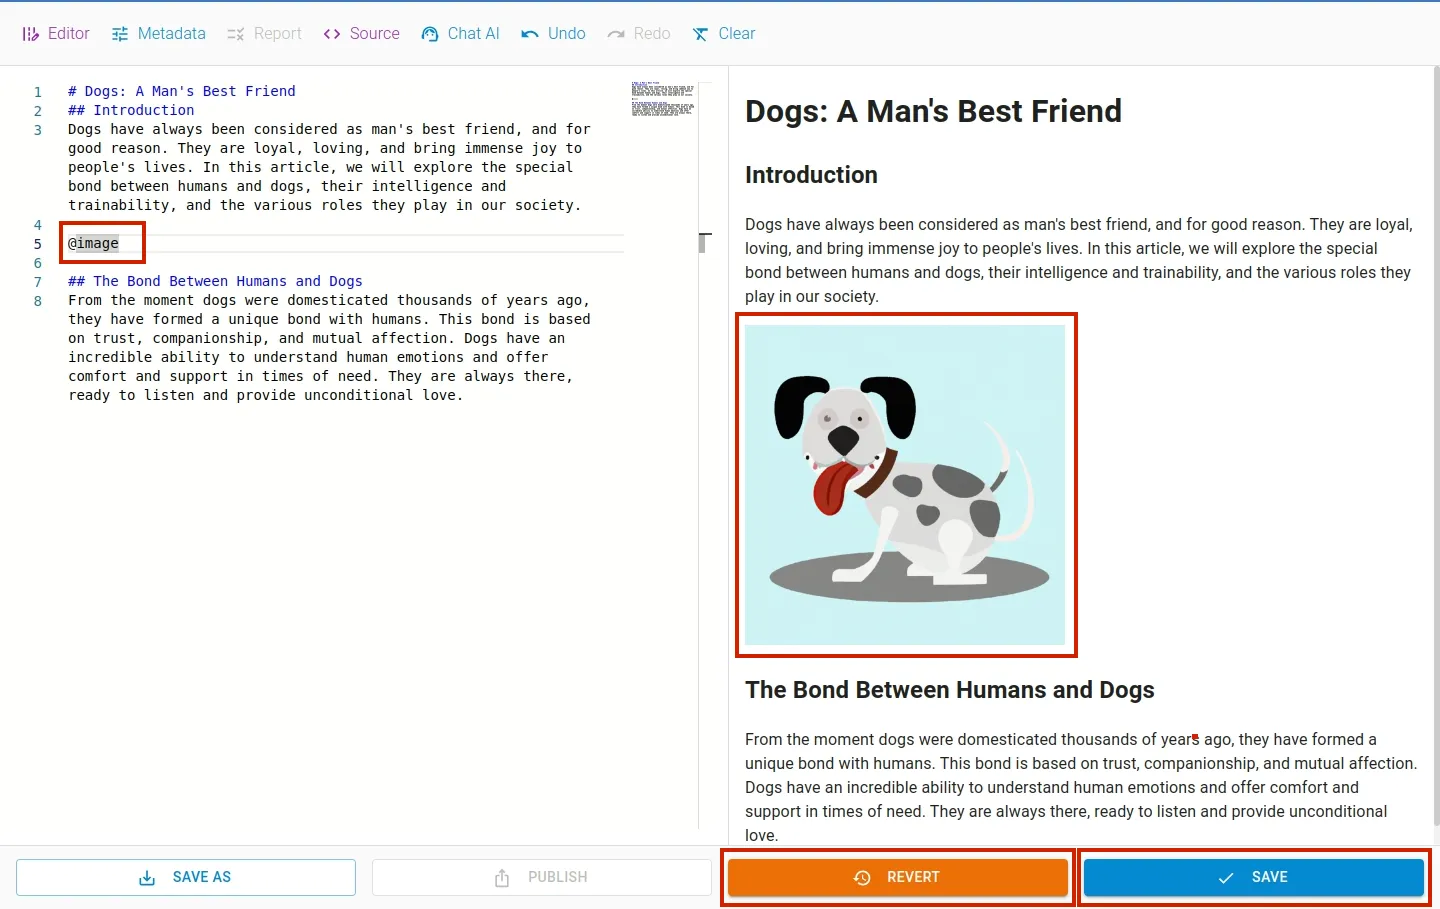
Including an Image
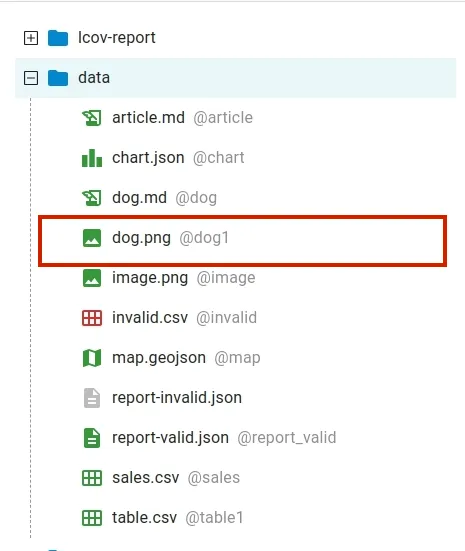
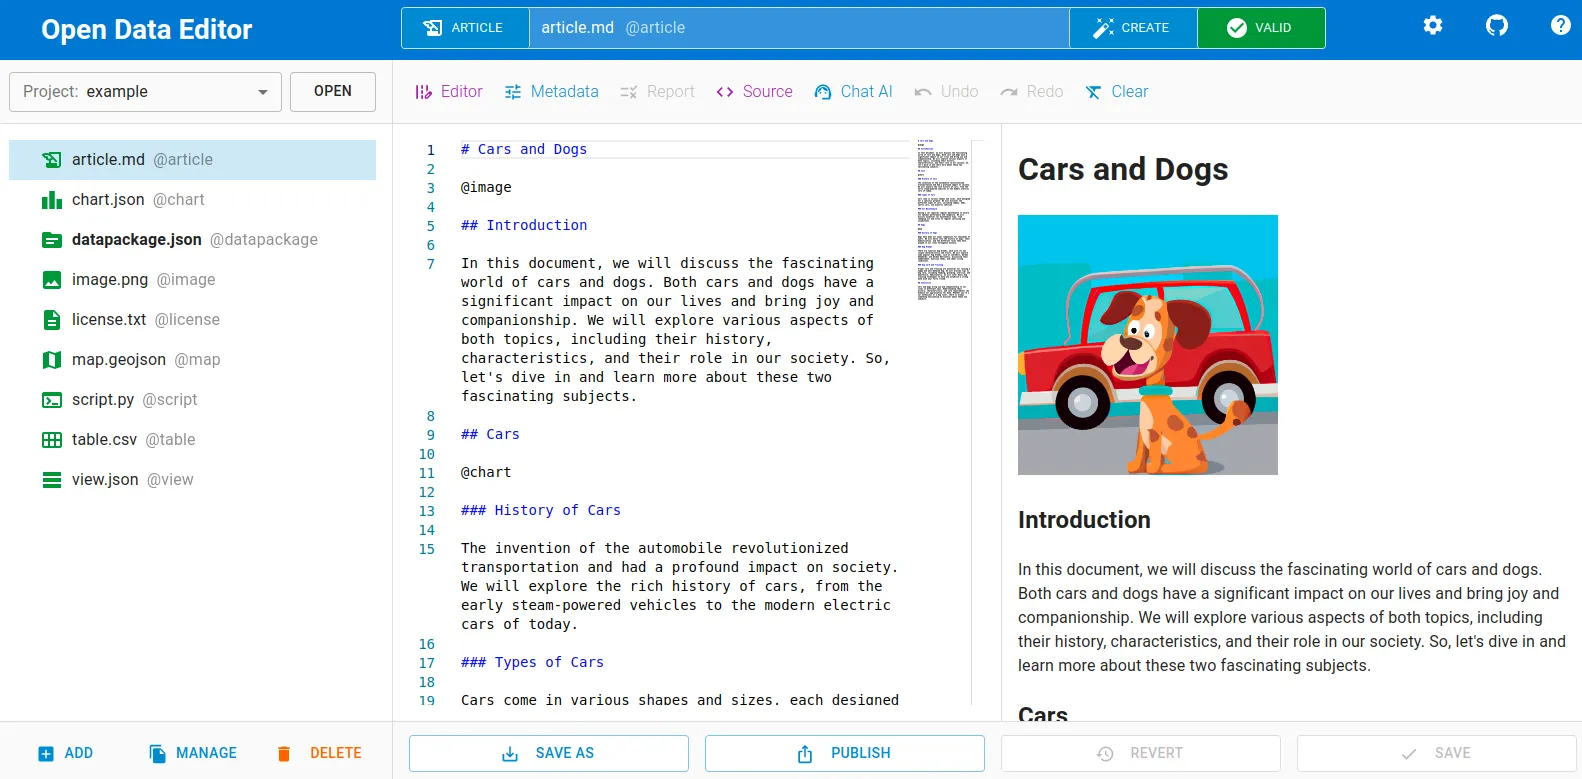
To include image image.png in the article, use @image tag.
To include another image dog.png simply use @dog1 tag. The files can be referenced using their unique name displayed in grey color as @{name}.
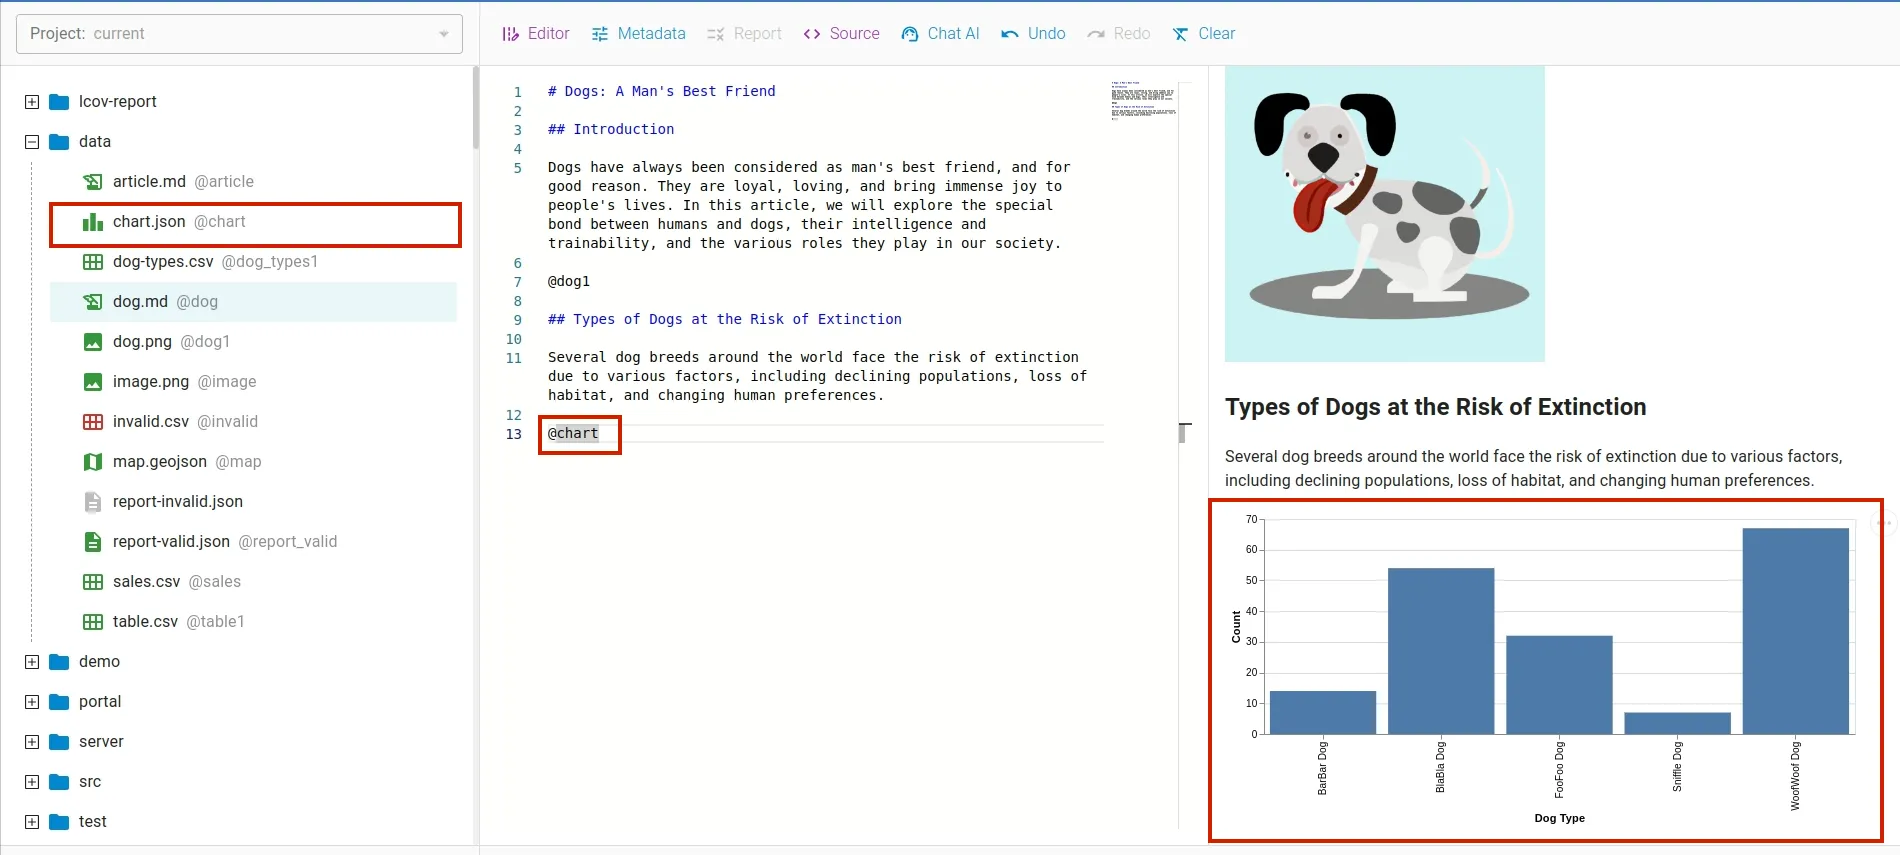
Including a Chart
Likewise, if you have a chart and want to include it in the article, you can do so by using @{name} tag. Similar to other files, chart is given a unique name, so we can reference them using their name.
Including a Map
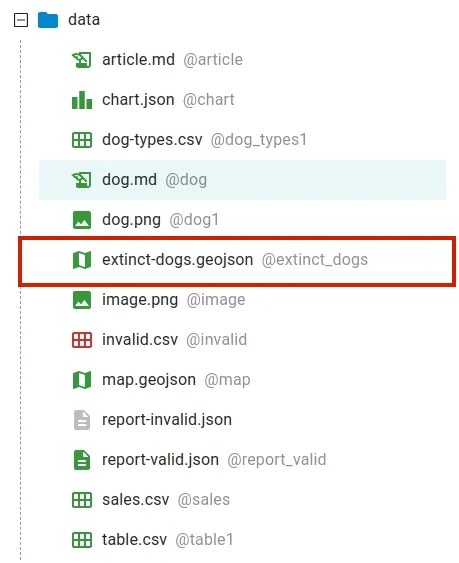
Using same tag, you can also include map in the article. To include a map extinct-dogs.geojson we use tag
@extinct_dogs.
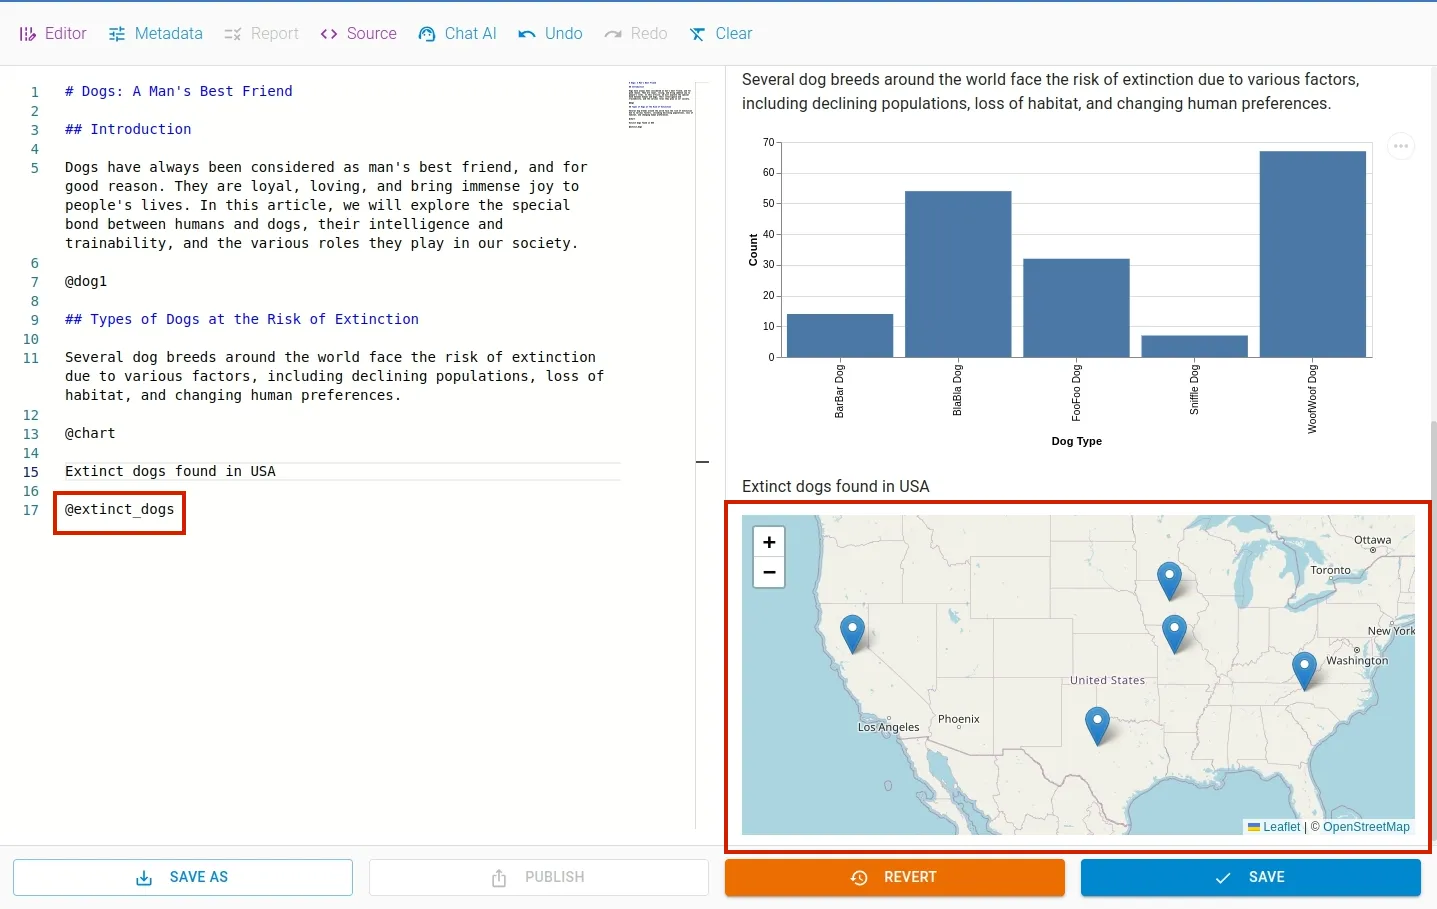
File name may differ from unique name(identifier), which is displayed in grey color as @{uniquename} in the File Explorer.
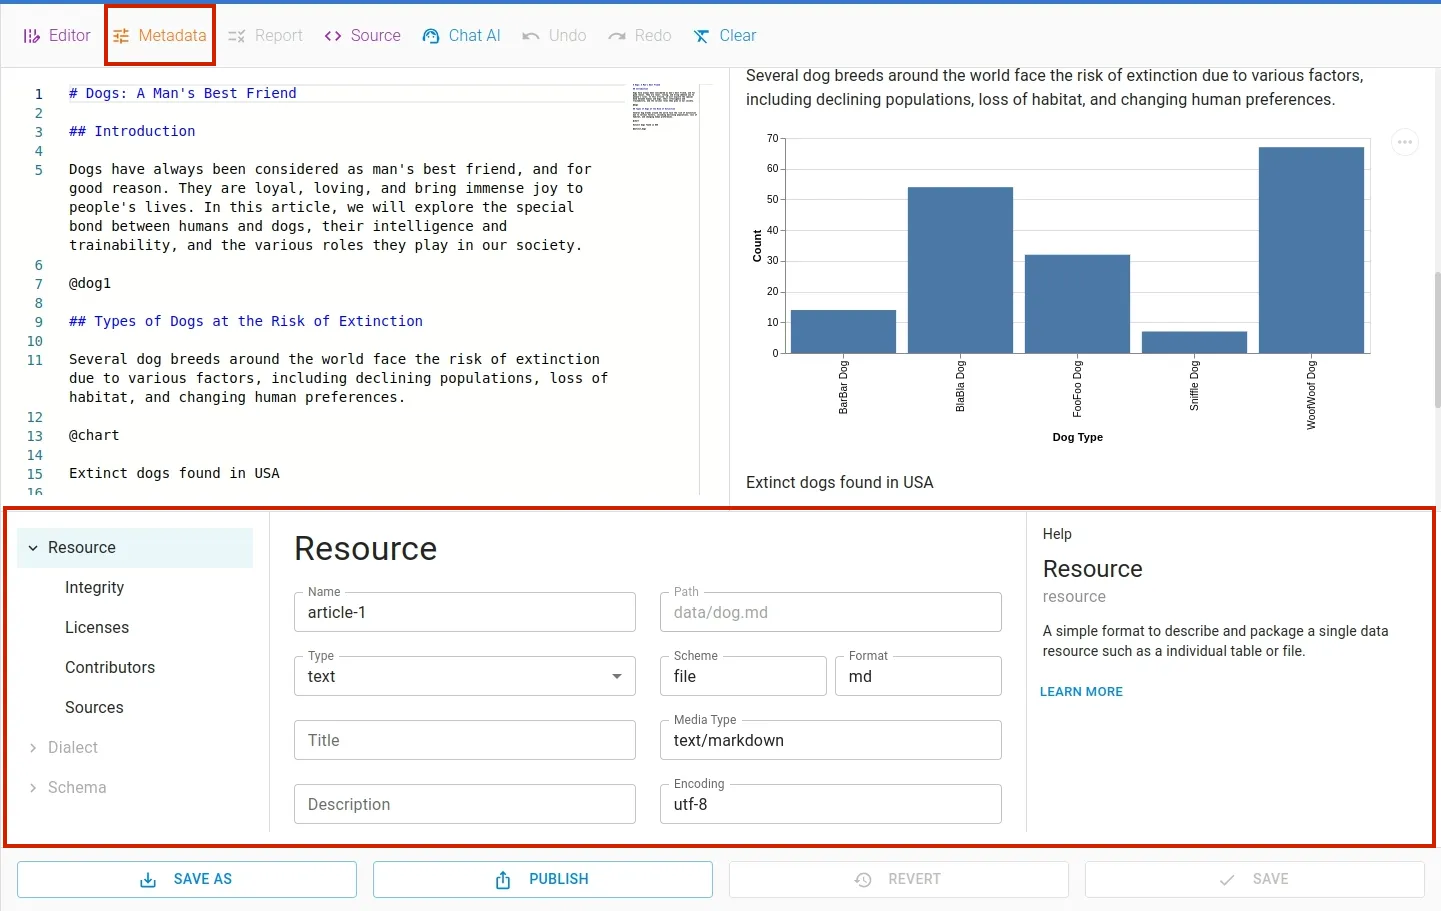
Editing Metadata
To edit metadata of the article such as licenses, contributors, sources etc use metadata editor. Click Metadata menu on the toolbar to open the editor. To hide the editor, click on the menu again.
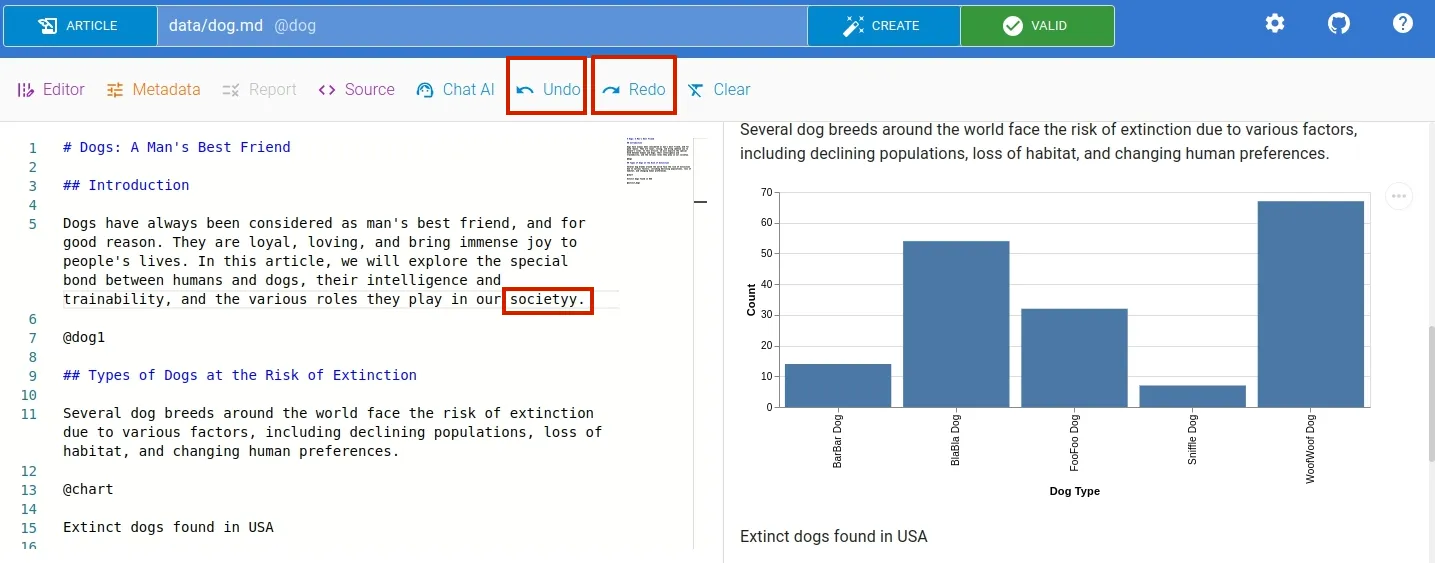
Undo or Redo
You can undo or redo your last change using undo or redo feature in the tools menu.
Saving or Reverting
Once you modify the article, you can save the changes using Save button. When changes are made, the Save and Revert button gets activated at the bottom of the editor. If needed, you can revert the changes by clicking the Revert button.
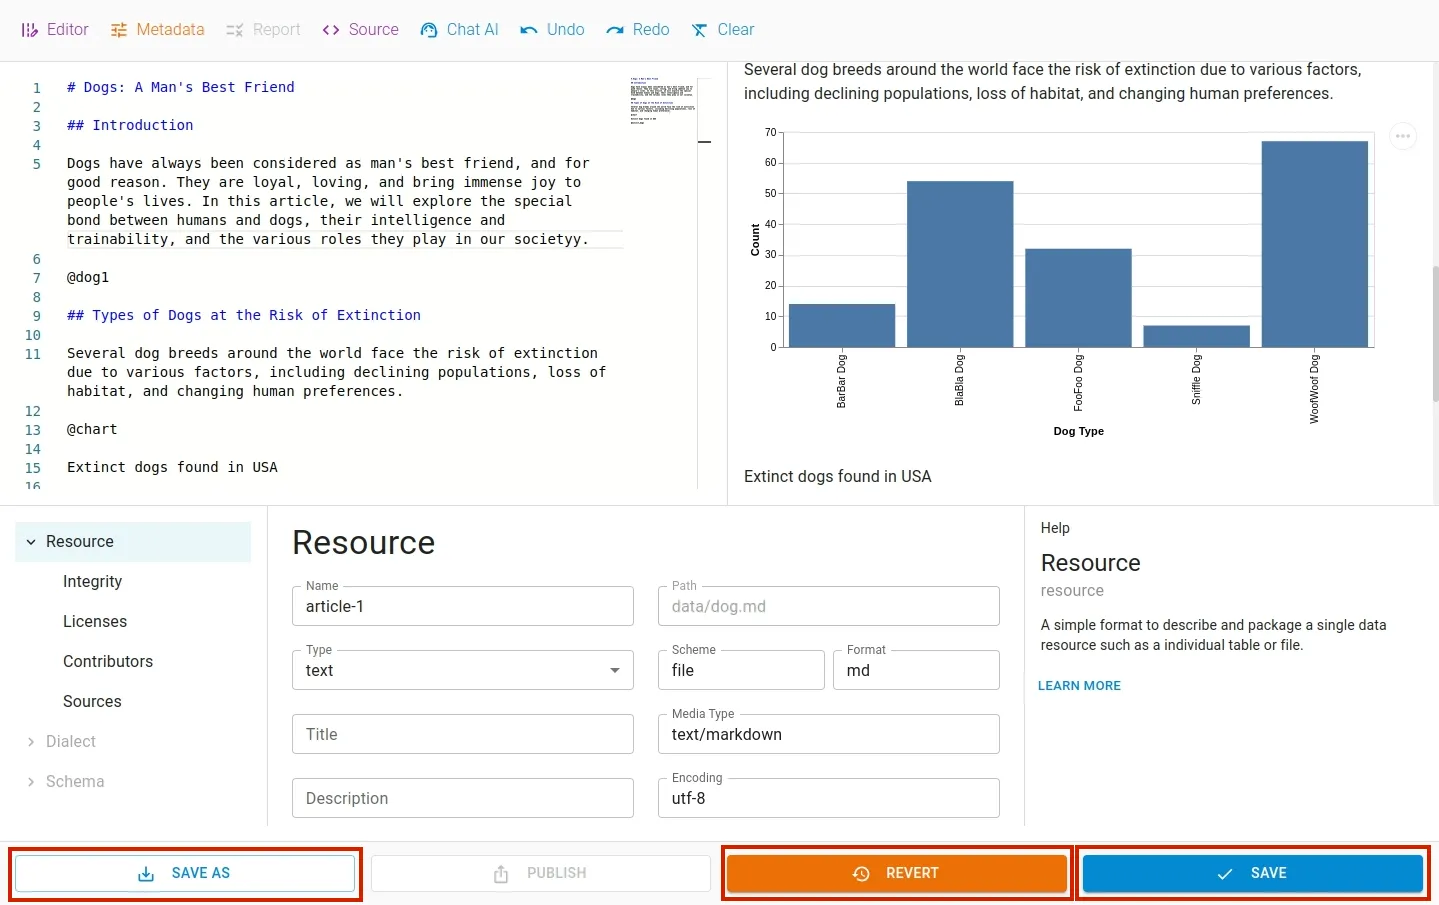
The changes can be saved in a different file using Save As button.
Using AI with Articles
To generate data using AI, click Create button. A Create File dialog box will appear. Navigate to the Article tab.
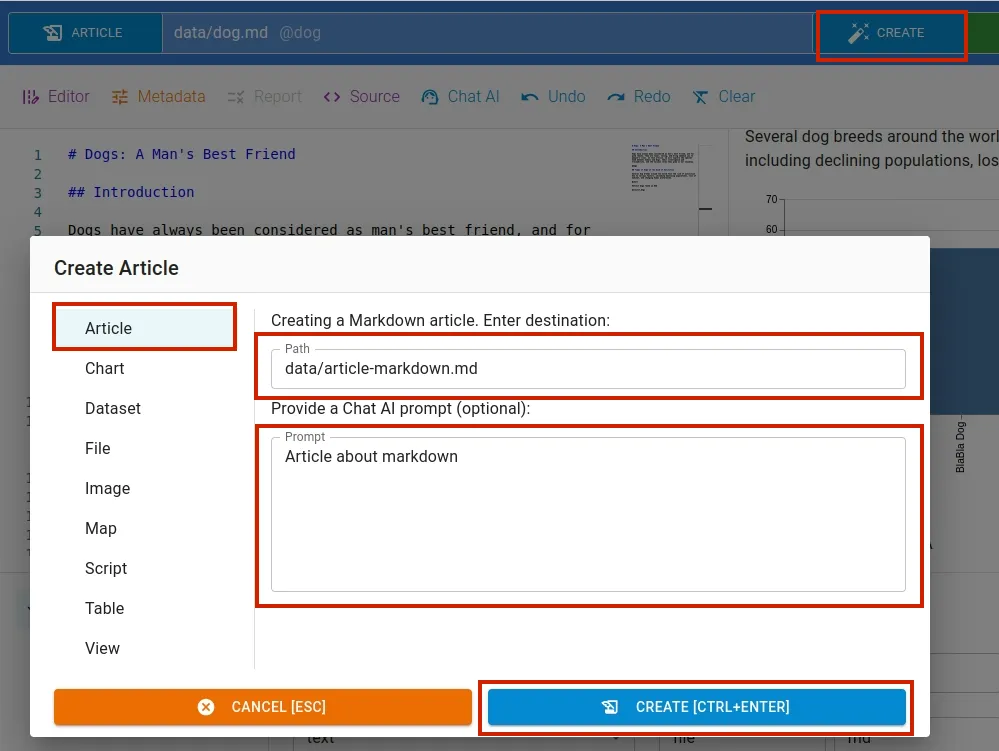
In Article tab, input filename and write a data generation command in the prompt input box. We use OpenAI’s ChatGPT large language model API.

Similarly, you can edit a table content by issuing command to AI. To access this window, select Chat AI option from the toolbar menu.
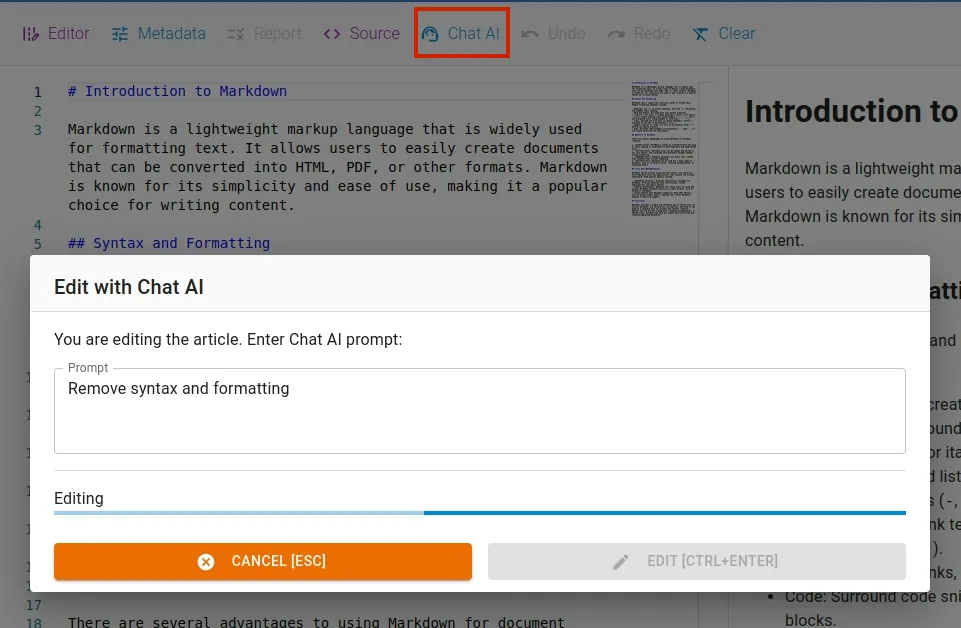
Enter your instruction to AI in the promt input box and apply the command by clicking the EDIT button. The resulting output is as follows:
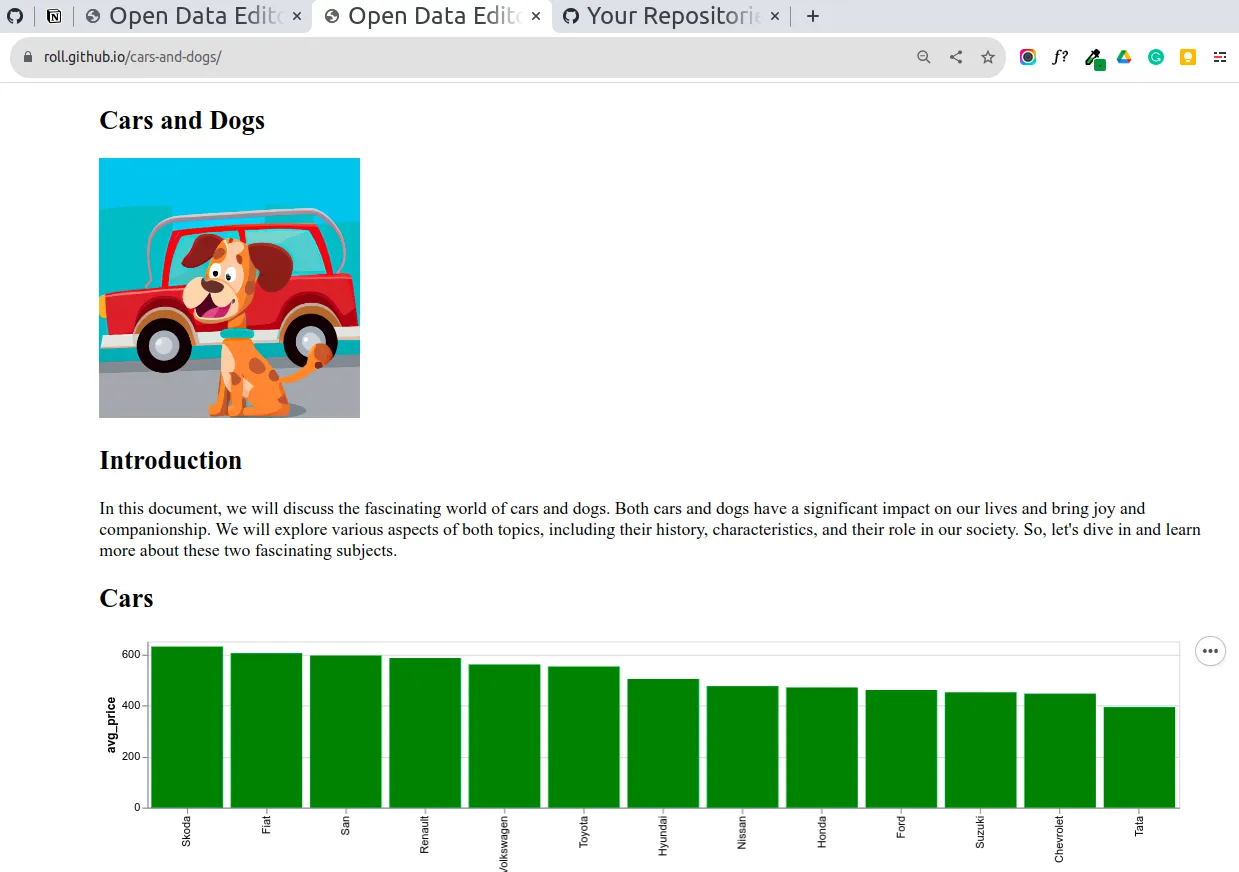
Publishing on Github Pages
Live demo - https://roll.github.io/cars-and-dogs/
Click on the Publish button below the article:
A publishing dialog will open, select Github, add your User, Repo, and and API Key. When the form is filled, click on Publish:
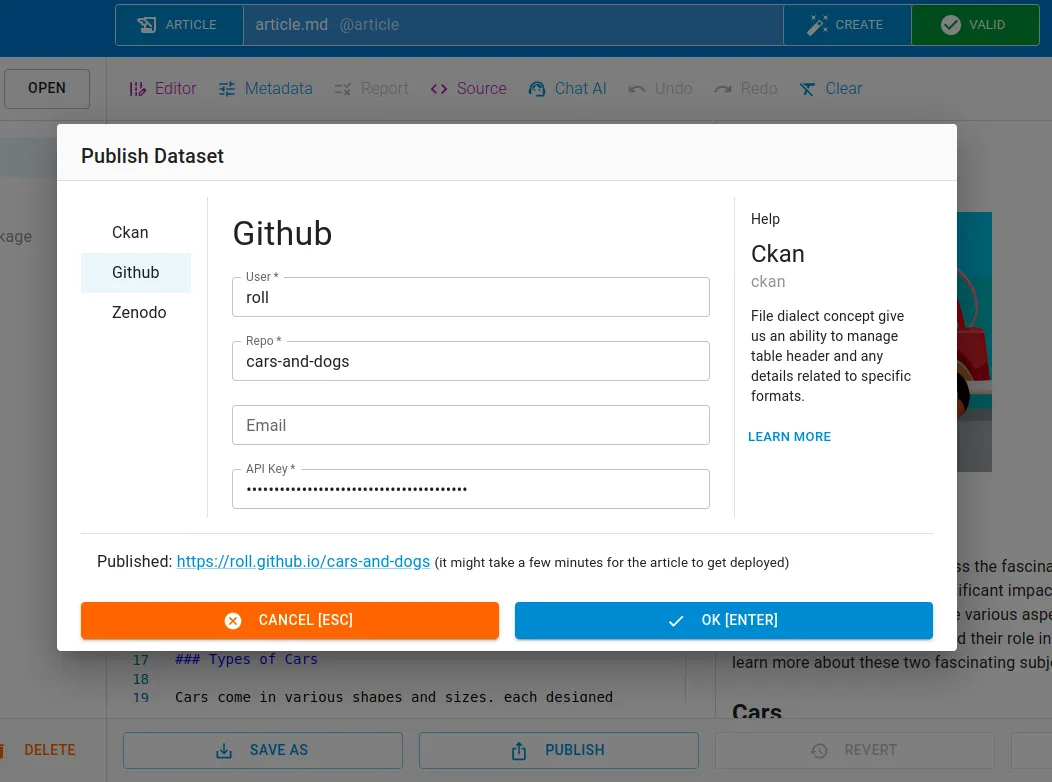
The article will be published on Github Pages. Note, that it might take a few minutes for a deployment: