Working with Charts
This section explains about how to use the chart feature in the Open Data Editor. The Chart Editor makes it easy to create charts without any code. The editor generates vegalite specification from the user input, which is passed to vegalite library to generate charts.
Creating a Chart
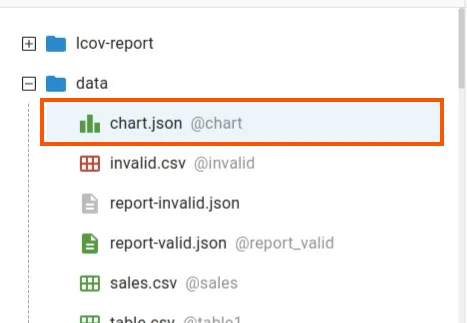
To create a chart, simply click on the create button and a dialog box opens. Navigate to Chart tab, you can either modify the name of the file or keep the default name chart.json.
![]()
After setting file name, click Create button, a chart file will be generated with the name you selected <filename.json>.
Initially, chart specification is empty so you will not see any chart. You can make changes to the chart file by using Chart Editor.
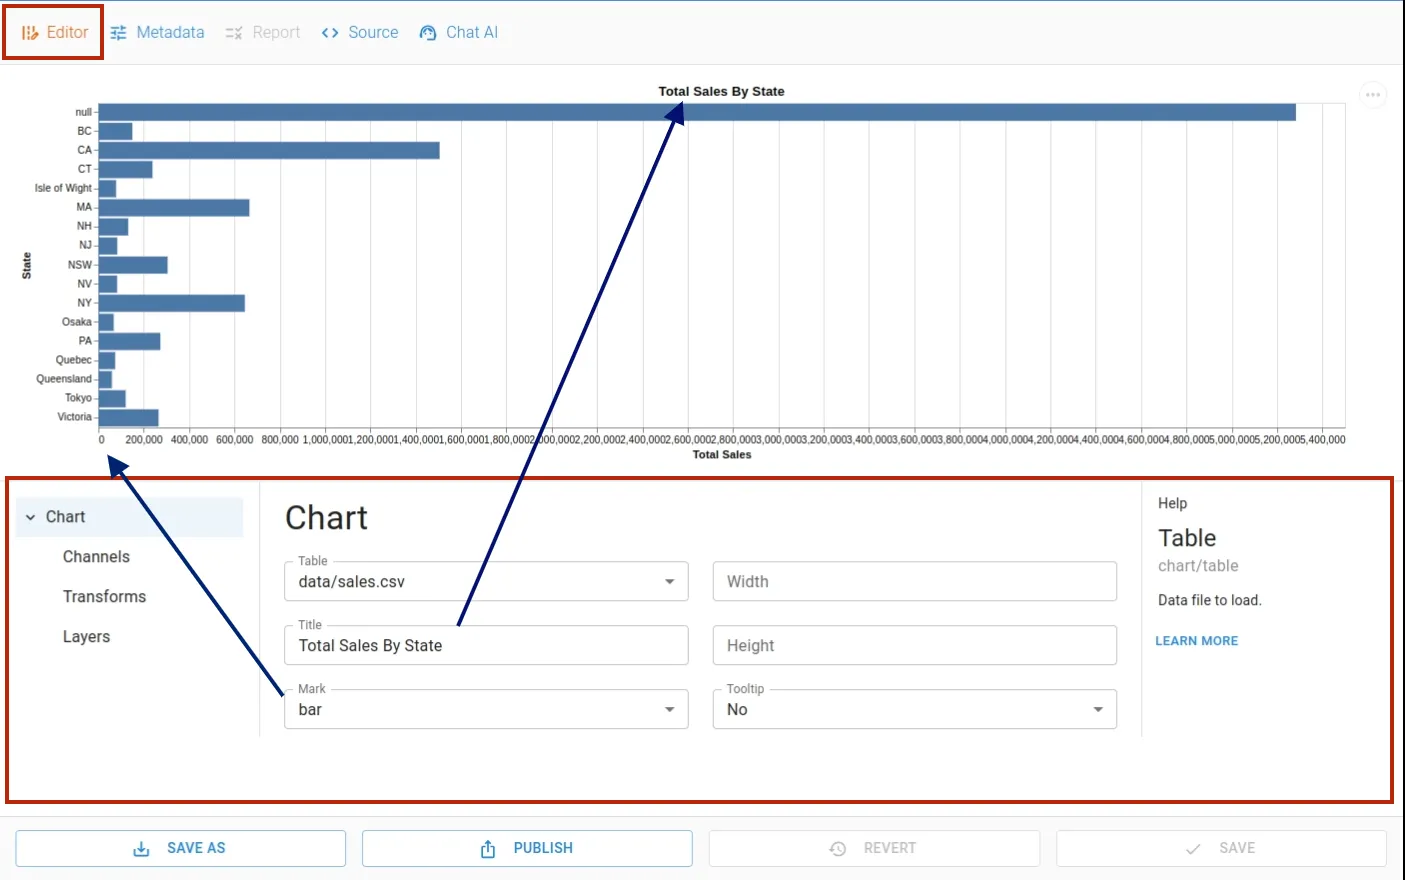
Once you update the chart specifications, the chart will be rendered in the Chart Viewer window.
Editing a Chart
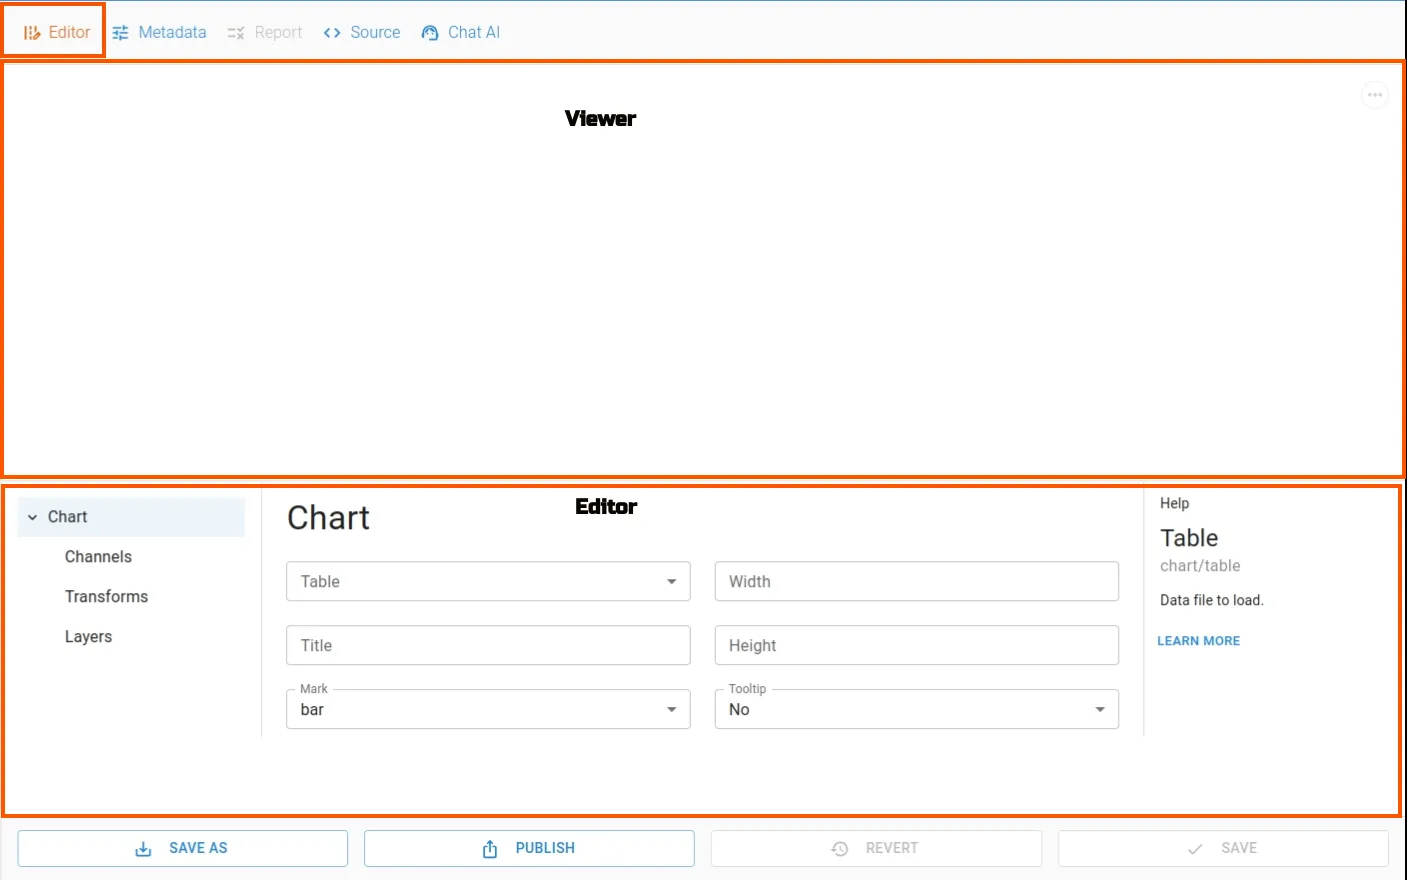
You can edit the chart specifications to customize it exactly how you want it to be rendered using Chart Editor. To hide the editor simply click the Editor icon.
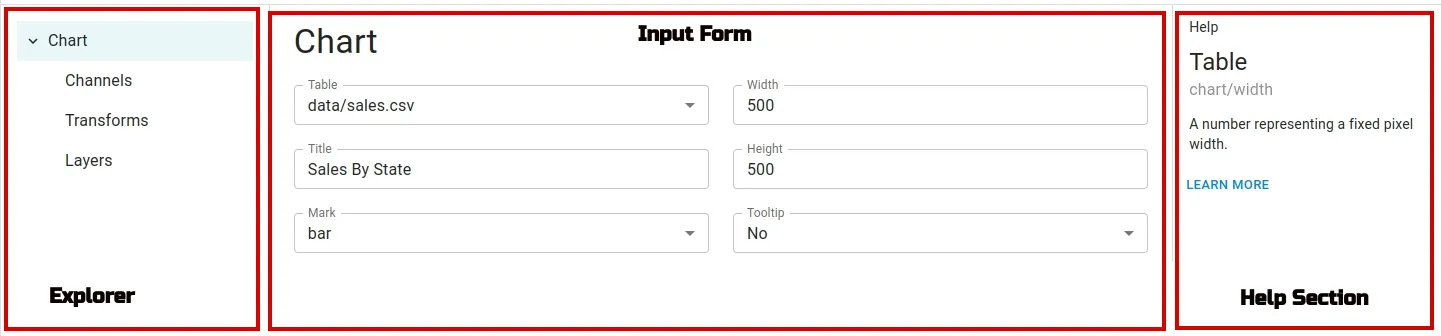
The editor allows us to make changes easily using GUI without requiring any understanding of the low level details of vegalite specification. It has three sections: a menu explorer, an input form and a help window.
It supports adding channels, transforms and layers feature.
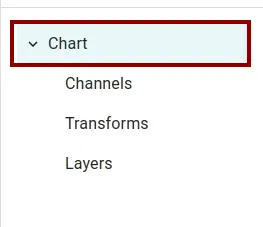
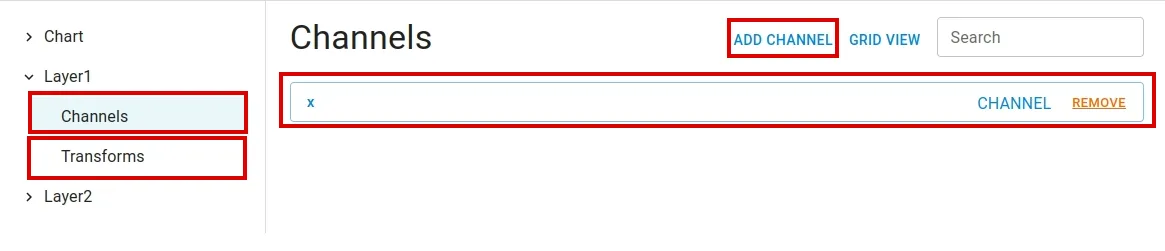
Encoding or Channel
The channels allows us to add multiple Encodings to map data fields to visual properties of a chart. To go to encoding/channel list, navigate to Chart > Channels. The term Channel and Encoding will be use alternatively here.
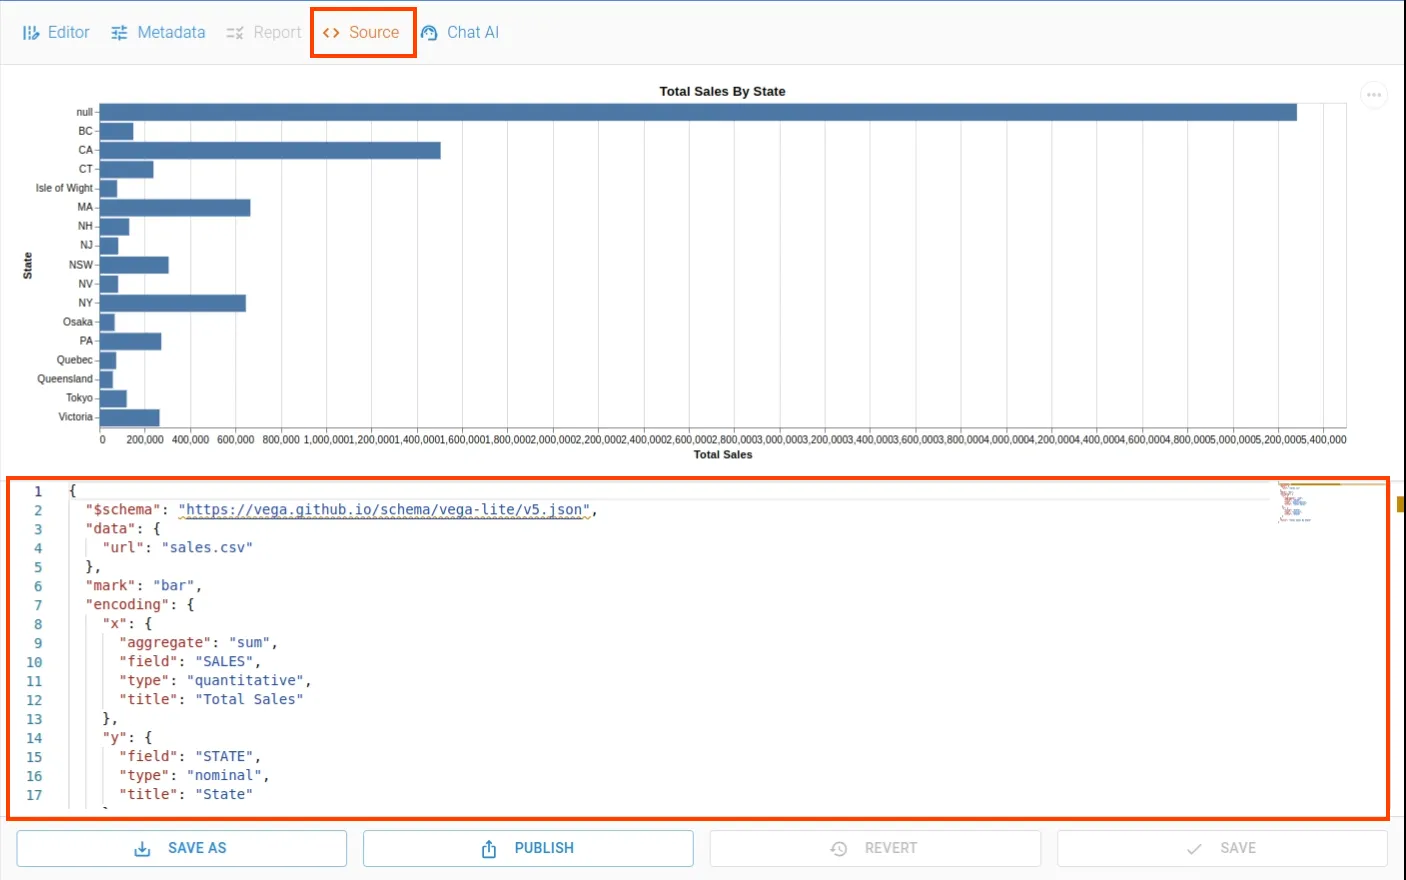
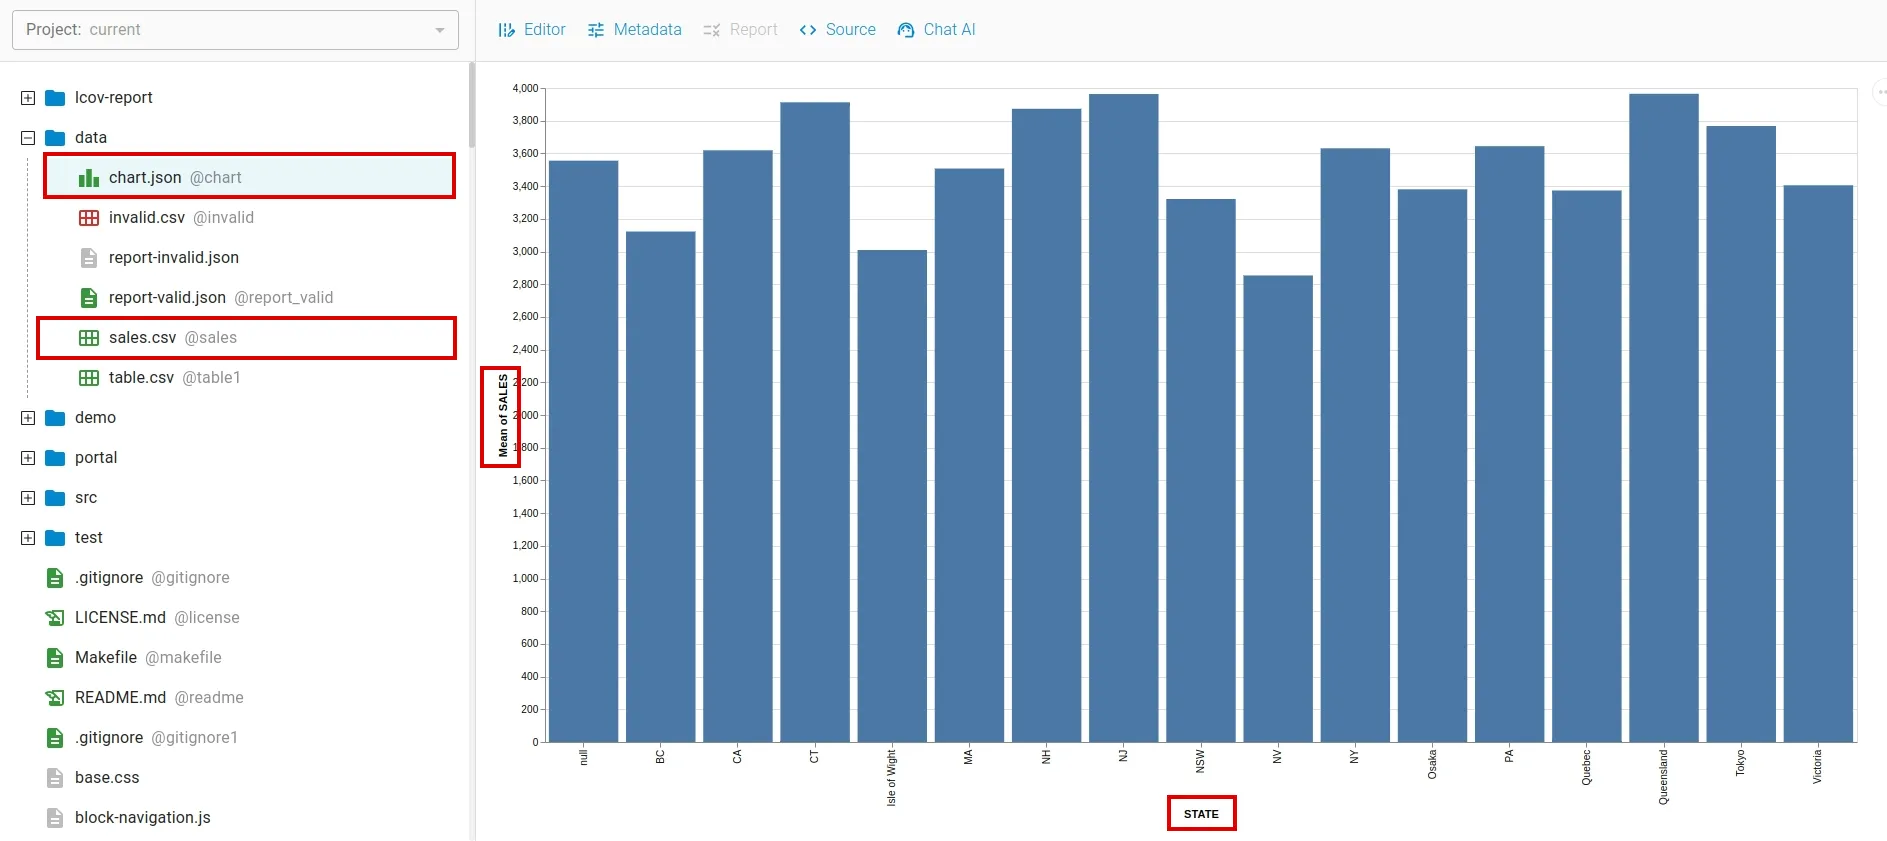
For example, to generate a bar chart with sales on X axis and states on Y axis as follows:
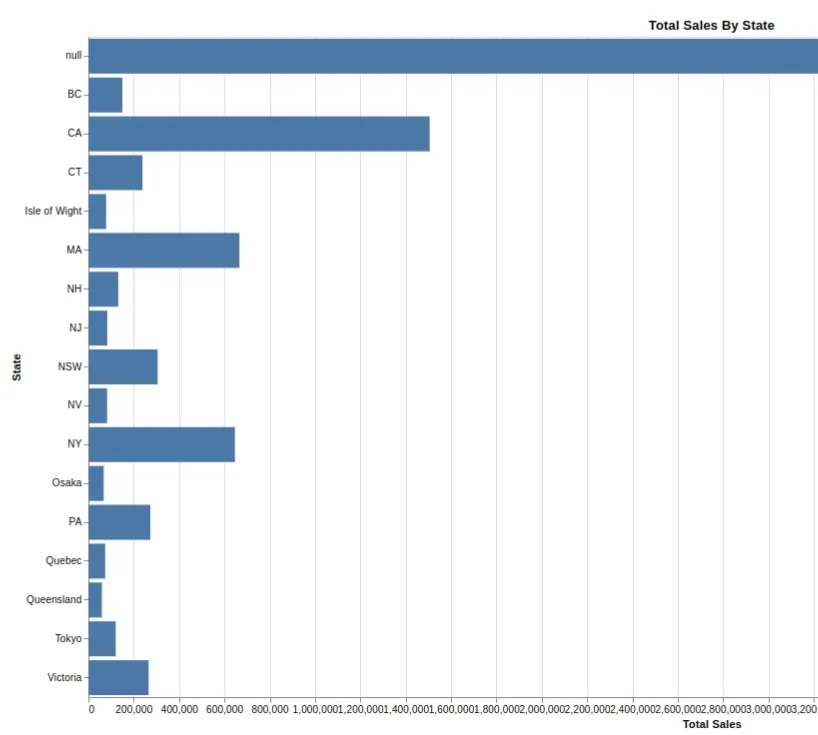
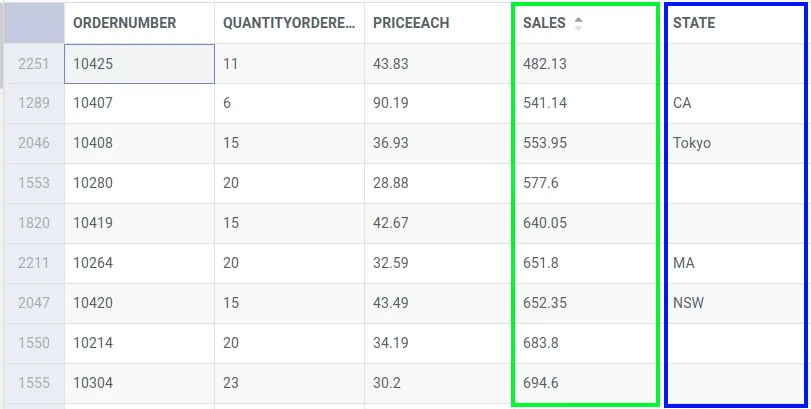
The table fields Sales and State needs to be mapped with X and Y channels.
Here is how the encodings look like:
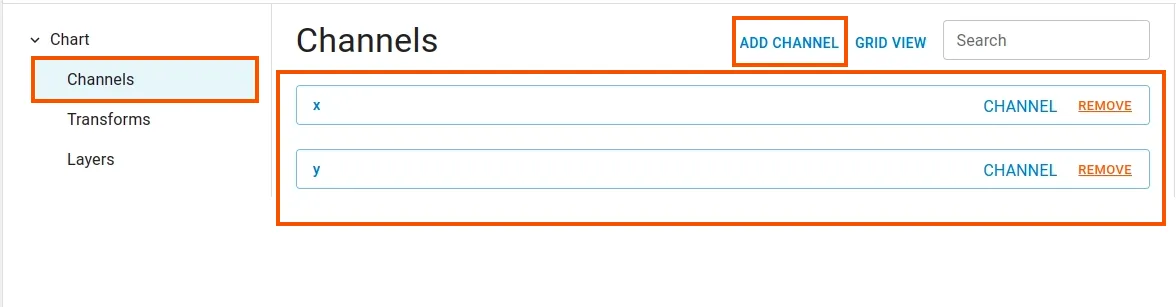
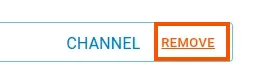
To add a new encoding/channel, click Add Channel. Likewise, to remove an encoding just click Remove button on the encoding.
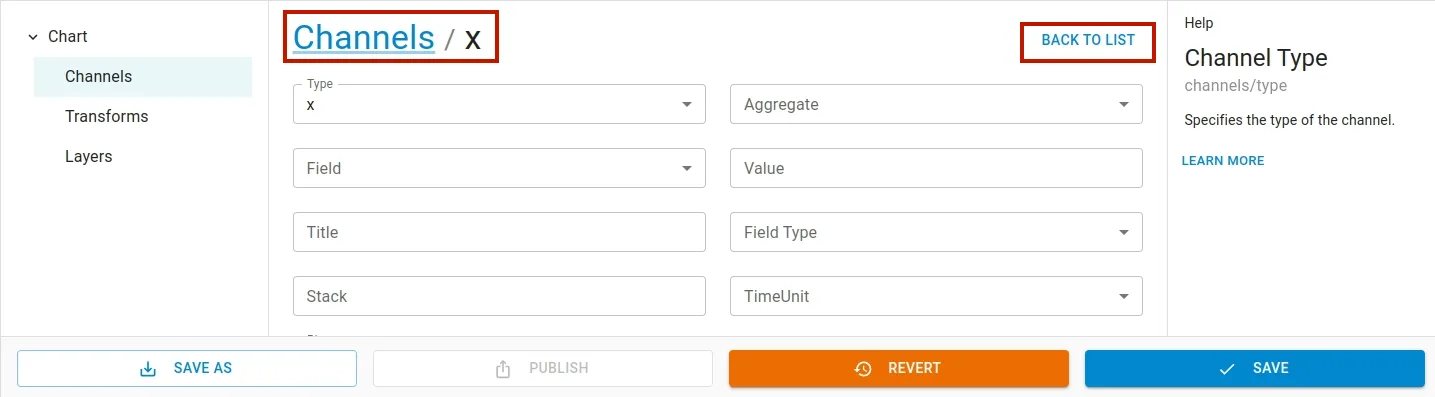
To make changes to the encoding, double click on the encoding button.

Inside the encoding input form, you can set values as per your requirement. To get back to the encoding/channel list, click BACK TO LIST button.
You can find the detailed explanation of vegalite encoding here.
Transforms
You can apply transformations such as sum, agregation calculate etc to the data using transform feature. To add a new transform, navigate to Chart > Transforms and click Add Transform menu in the Transforms list page.
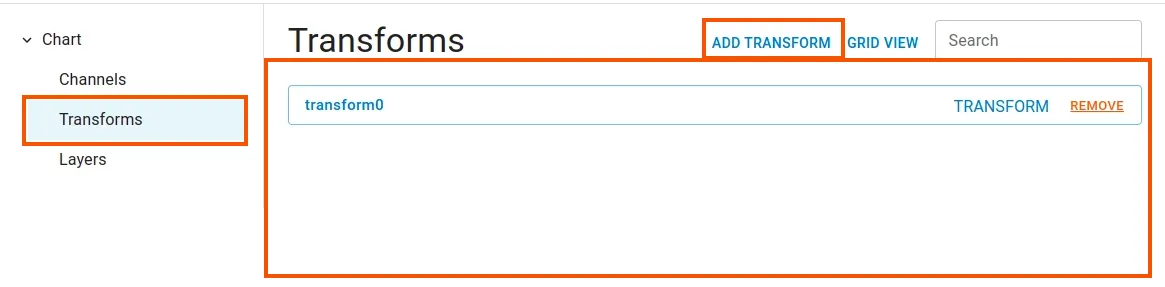
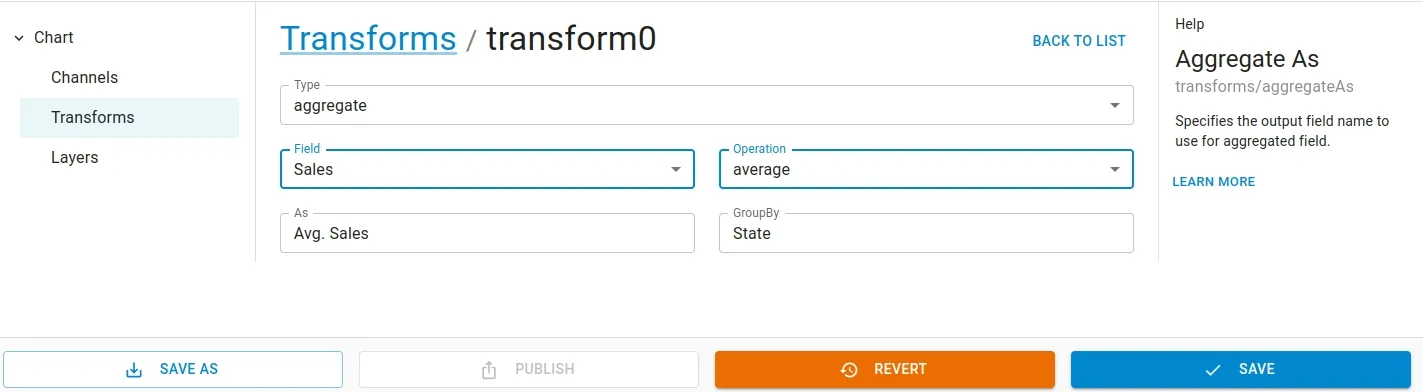
To make changes to the specific transform, double click on the transform button.

Once the transform input form is open, you can make the required changes. Click BACK TO LIST to go back to the transform list view page.
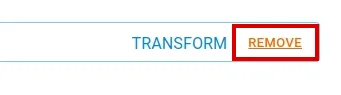
To remove any transform click Remove button
To learn more about vegalite transform you can find the detailed document here.
Layers
Using layers feature, you can create complex visualization by overlaying multiple charts layers on top of each other. To add a new layer, navigate to Chart > Layers and click Add Layer menu in the Layers list view page.
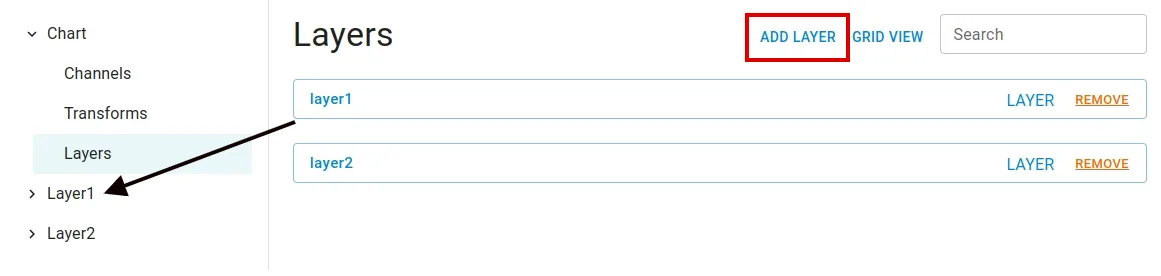
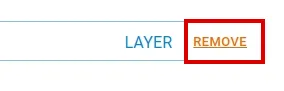
To remove any layer click Remove button
After adding layer, you can add Encoding/Channel and Transform by clicking the newly created layer menu.
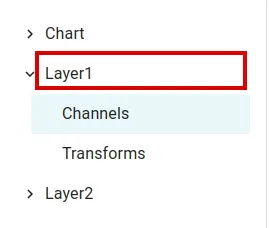
To add encodings and transforms navigate to the respective submenus and click Add channel/transform button.
To change the content of a channel or transform, dblclick on the corresponding button. Similarly to delete a channel or transform simply click Remove button.
To learn more about vegalite layers you can find the detailed document here.
Source View
To view the chart file in its raw form, click on source menu. To hide, click on the menu again.
Saving / Reverting
You can modify the chart content by using Chart Editor, Source View or using Chat AI. When changes are made, the Save and Revert button gets activated at the bottom of the editor. You can save your changes by clicking Save button.
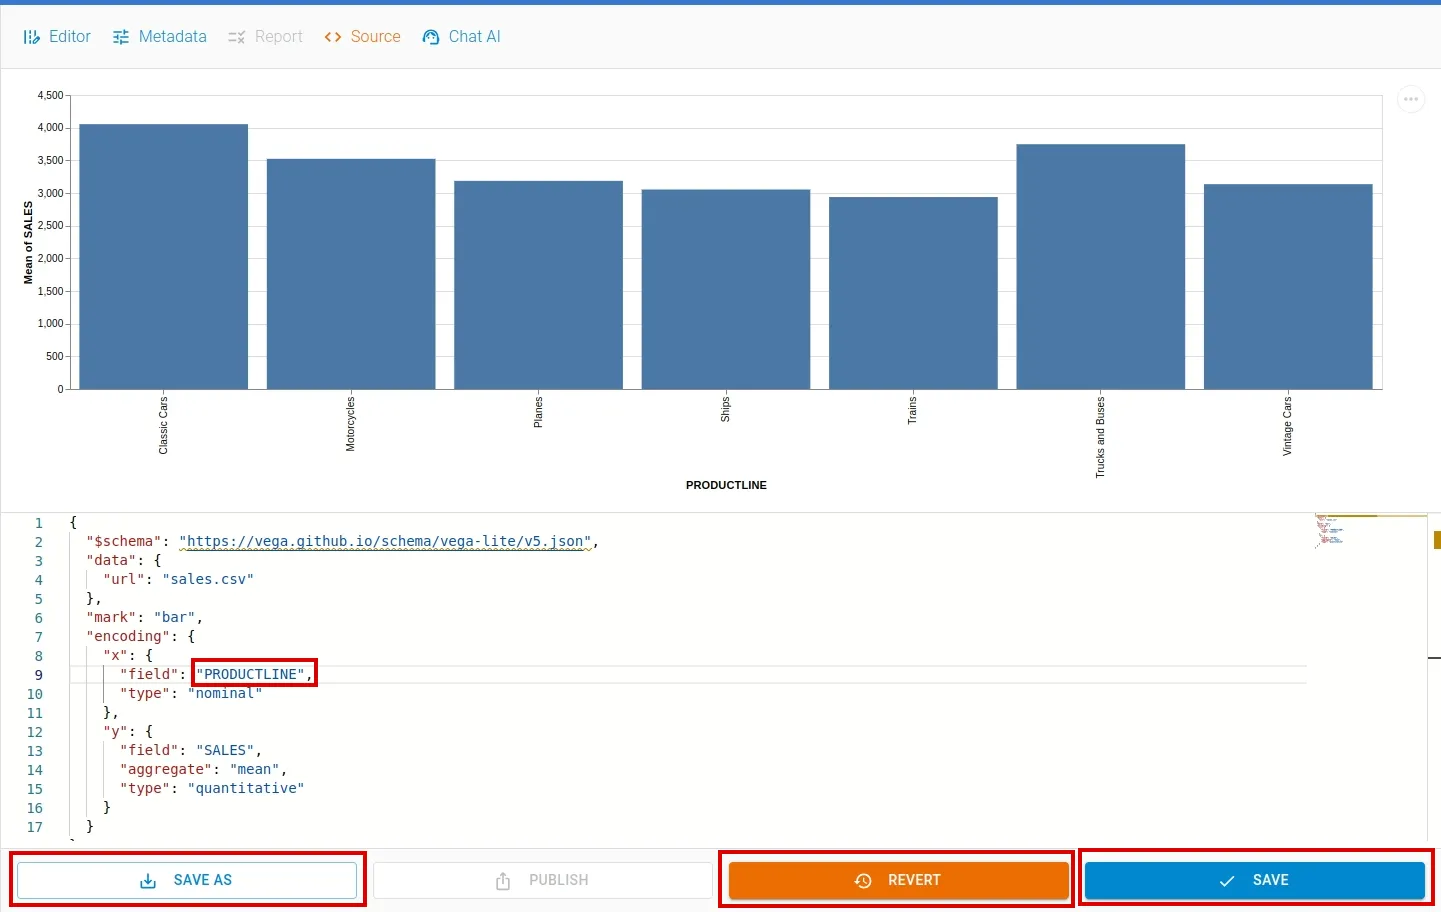
If needed, you can revert the changes clicking the Revert button. You can save it as a new file as well.
Using AI with Charts
To generate chart using AI, click Create button. A Create File dialog box will appear. Navigate to the Chart tab.
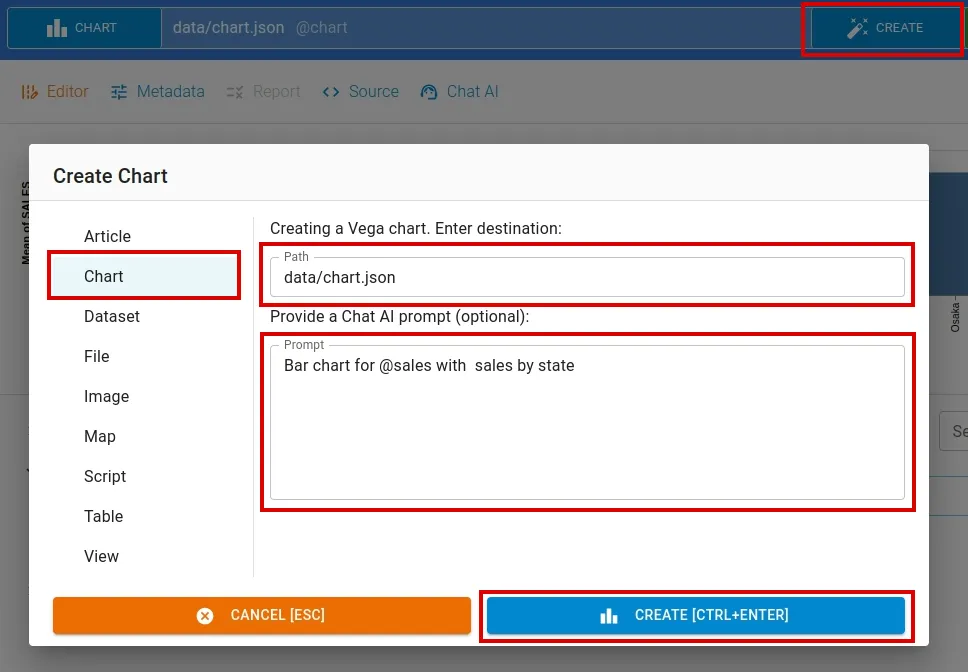
In Chart tab, input filename and write a data generation command in the prompt input box. We use OpenAI’s ChatGPT large language model API.
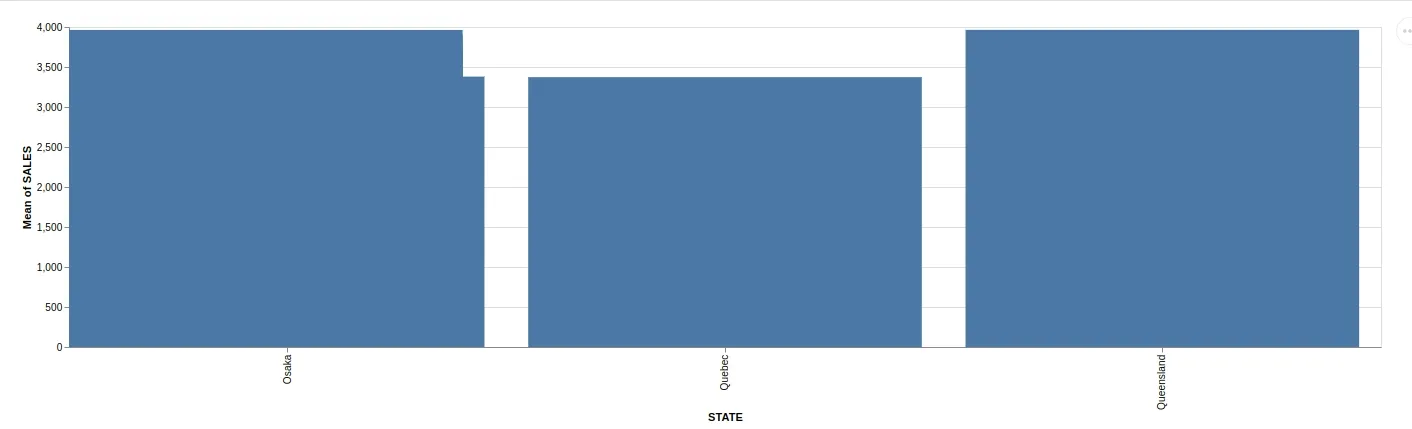
Similarly, you can edit a chart content by issuing command to AI. To access this window, select Chat AI option from the toolbar menu.
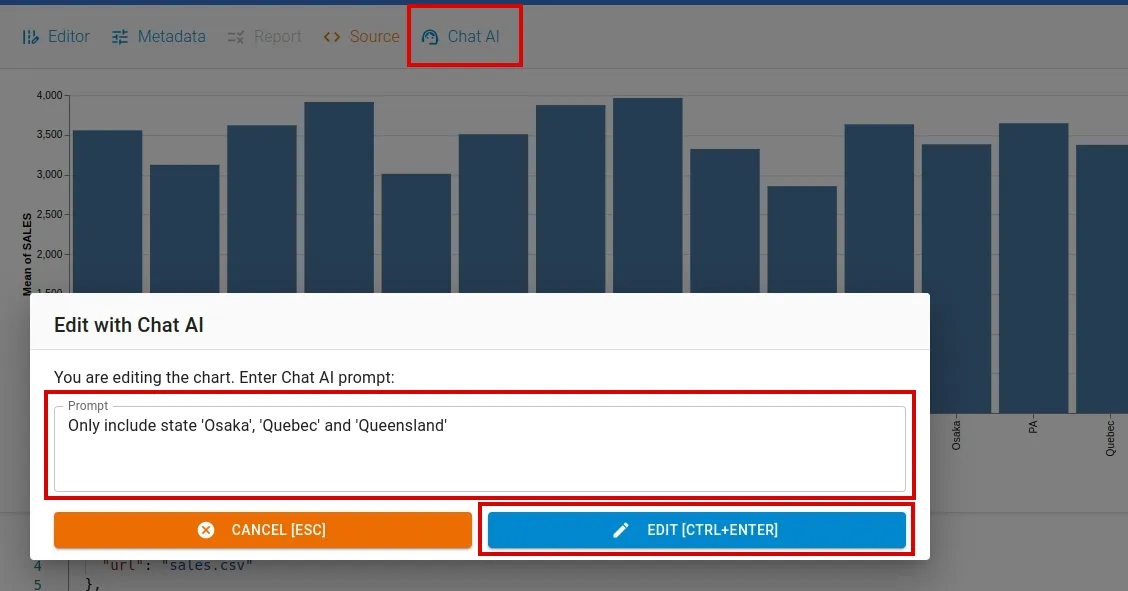
Enter your instruction to AI in the prompt input box and apply the command by clicking the EDIT button. The resulting output is as follows:
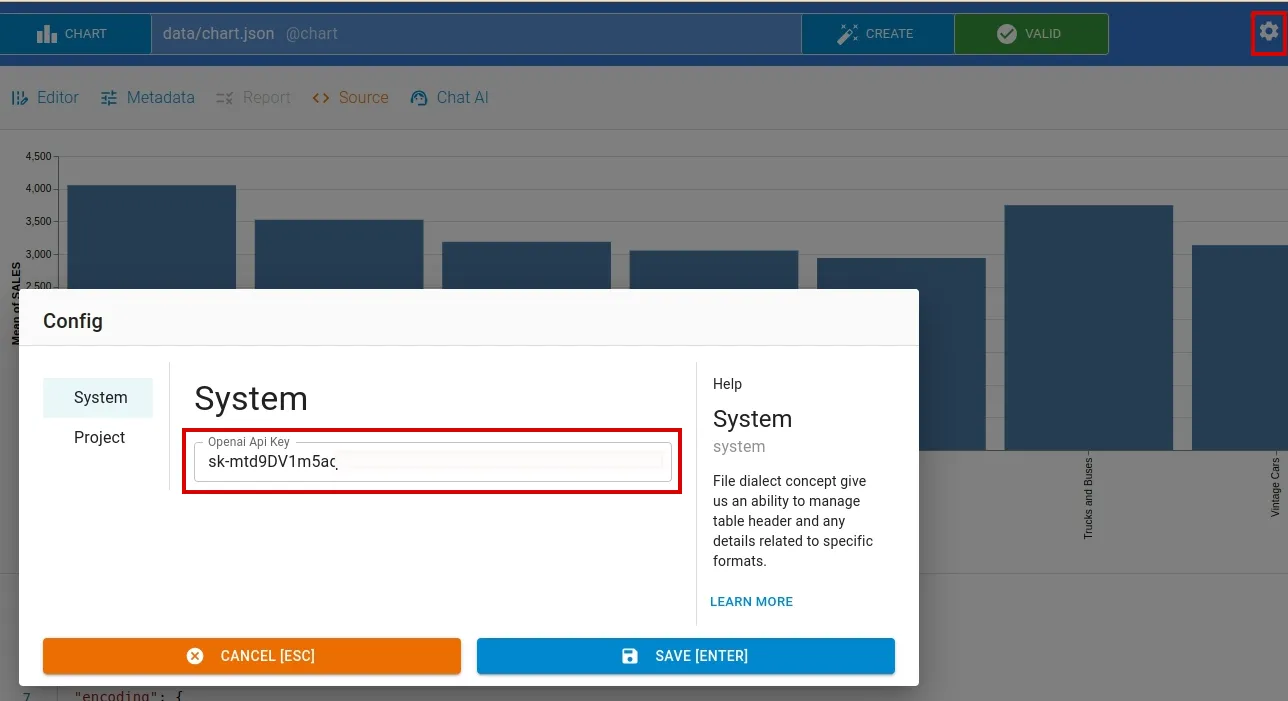
To use CHAT AI feature, you have to set the OpenAI API Key. To set the api key, click Settings menu.
Publishing
To open the publishing window, click the Publish button located at the bottom of the chart editor page. After you’ve chart ready, click the Publish button to initiate the publishing process
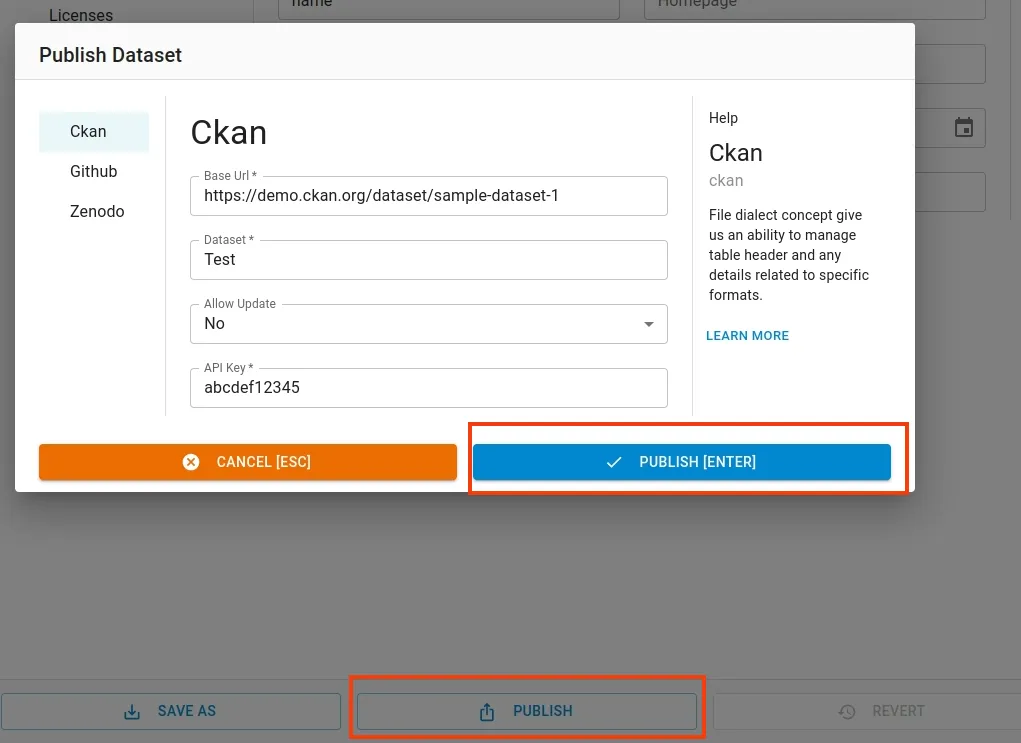
Similarly, you can also publish it to Zenodo or Github